
November 15, 2019

Some of our favorite contenders for the best getaways in England! One of the most impressive things about England is…
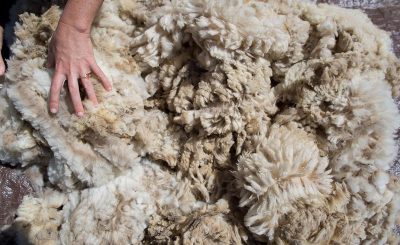
Many of the basic techniques of producing wool have remained unchanged throughout the centuries. Once a fleece has been sheared…
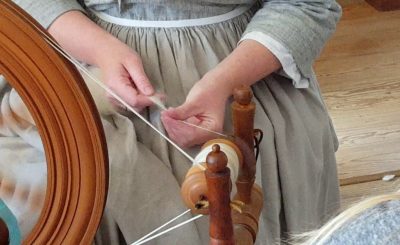
The earliest woollen threads were made using a drop spindle. These simple devices enabled the spinster to twist strands of…
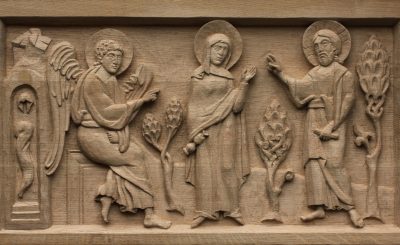
The churchyard around the main building is a common feature of UK churches. Often full of fascinating headstones and monuments,…
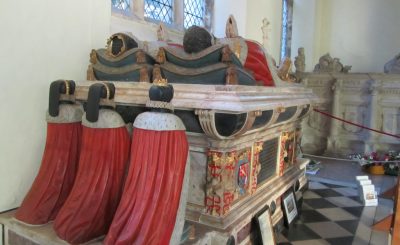
Tombs and monuments in churches are wonderful records of social, religious and individual history. Most ordinary people were buried outside…
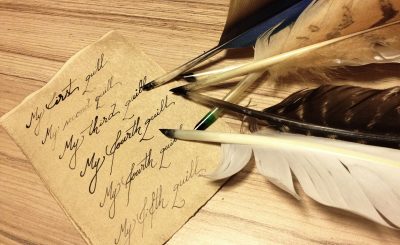
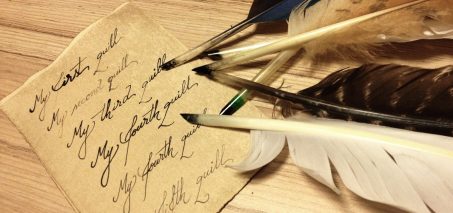
Many types of feather can be used to make a quill pen. The most popular is probably the goose quill.…

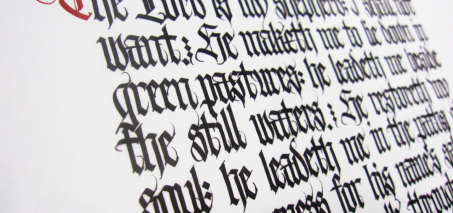
Historians of all kinds appreciate the elegance, simplicity and beauty of calligraphy but few have taken the time to learn…
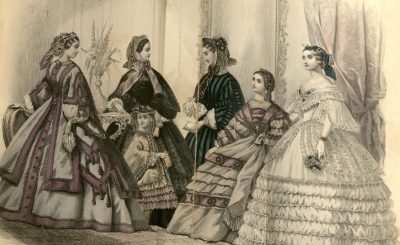
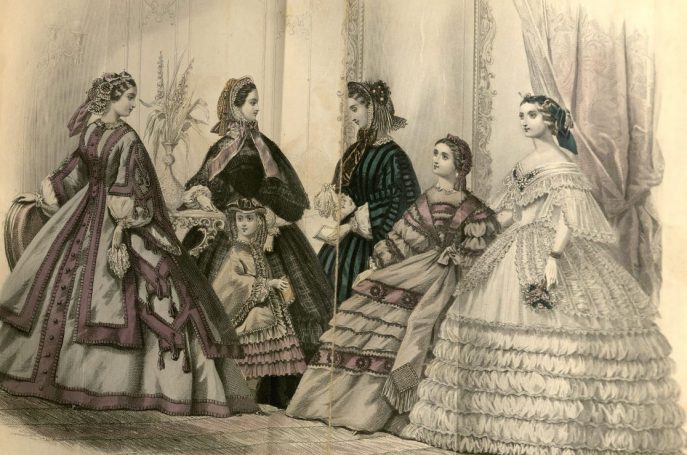
It seems strange nowadays, in this world of a “healthy tan’ that pale skin was once so much admired. Like…